Follow Me On Social Media!
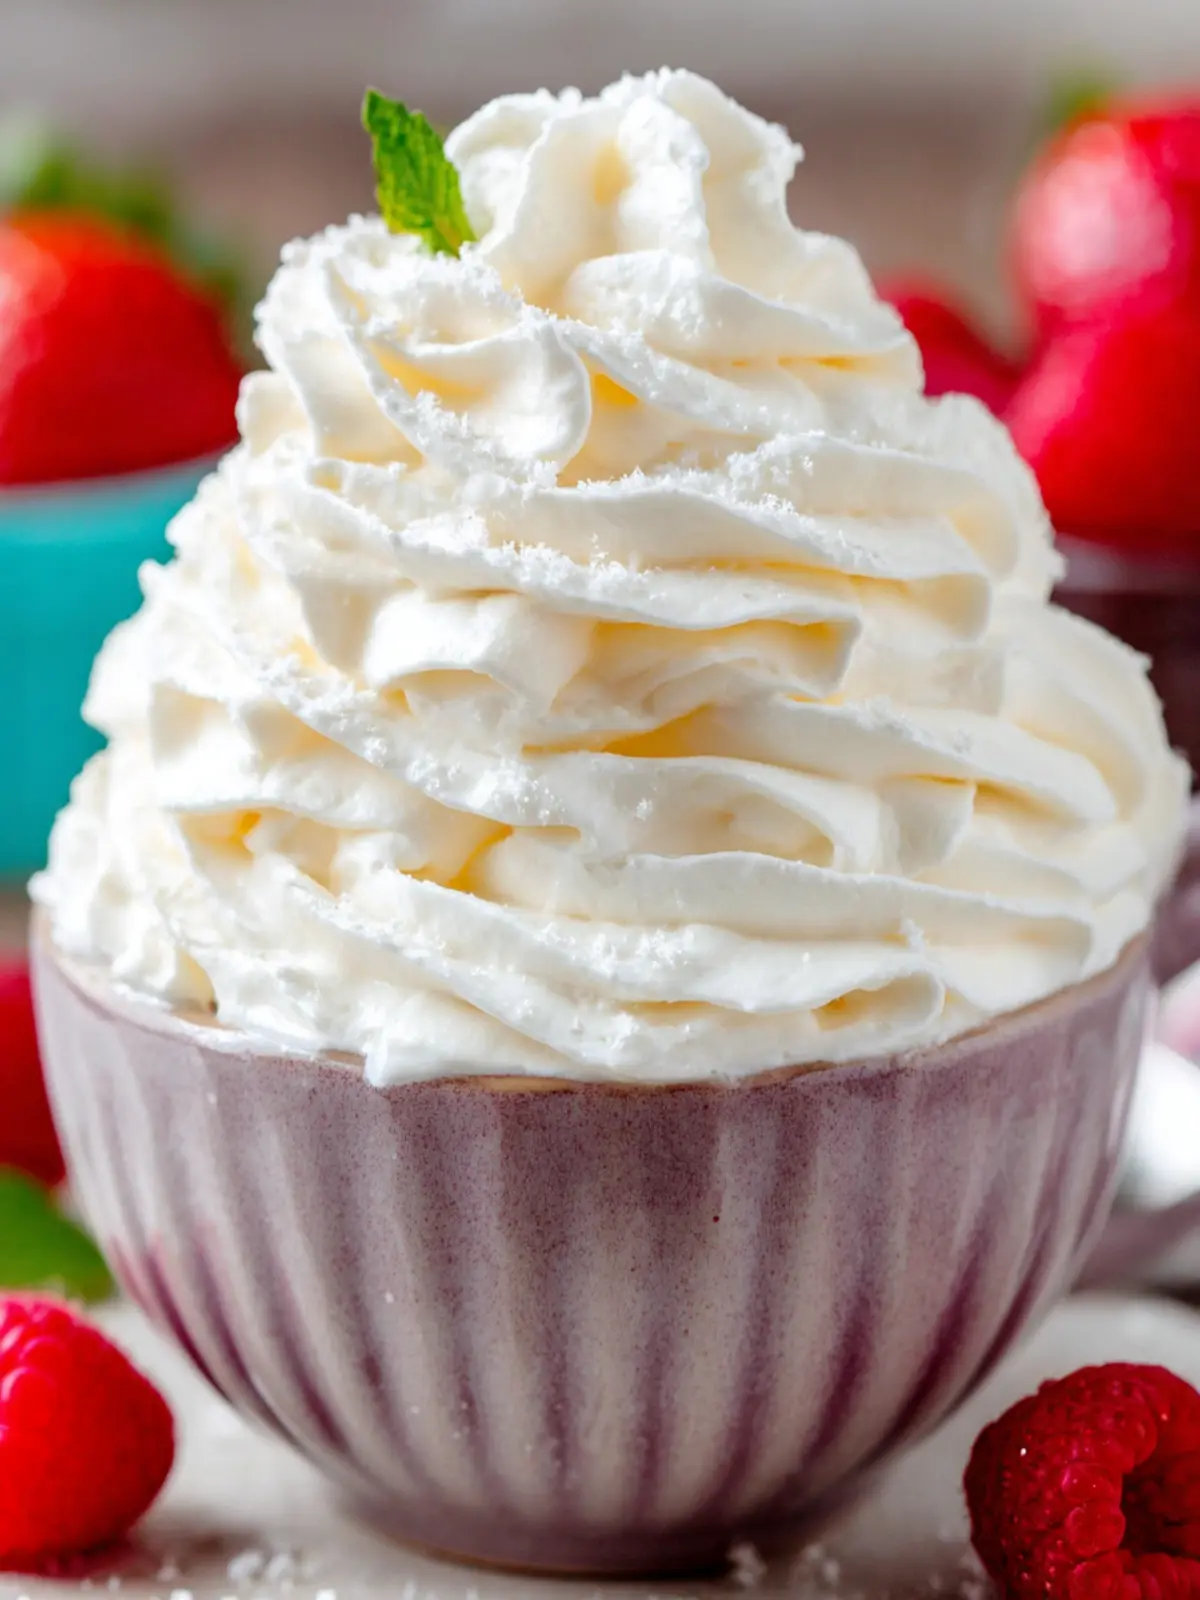
Stabilized Whipped Cream: The Best Recipe for Perfect Desserts
Introduction to Stabilized Whipped Cream
Stabilized whipped cream can transform your desserts from average to extraordinary. Imagine a delightful layer of light, airy cream that holds its shape longer than traditional whipped cream, creating the perfect topping for cakes, pies, and even ice cream. Picture the moment when you serve a slice of that meticulously crafted cake, only to have the whipped cream hold firm atop it, as if it were a soft cloud resting on a mountaintop. This is the magic of stabilized whipped cream.
Why is Stabilized Whipped Cream a Game-Changer?
-
Longevity: One of the primary benefits of stabilized whipped cream is its ability to hold its form for hours, if not days. No more worrying about your beautifully decorated dessert collapsing before your guests take a bite. This is ideal for parties, potlucks, and special occasions when visual appeal matters just as much as taste.
-
Versatility: Stabilized whipped cream serves not only as a topping but can also act as a filling. Whether you’re layering it in a trifle, using it as frosting between cake layers, or dolloping it on a fruit salad, this creamy delight adapts easily to various culinary creations.
-
Enhanced Flavor: The process used to stabilize whipped cream often includes incorporating ingredients like powdered sugar or gelatin, adding a touch of sweetness and a slight firmness that enhances the overall flavor profile. This meticulous balance of sweetness and texture elevates your dessert game to new heights.
-
Ease of Preparation: Many think of stabilized whipped cream as complicated, but it’s surprisingly straightforward. A handful of ingredients and some simple steps are all it takes to create this deliсious topping. By mastering the technique, you expand the horizon of your desserts without spending hours in the kitchen.
As you delve into the recipe for stabilized whipped cream, reflect on how this incredible garnish can transform not just your desserts, but your experience of serving them. Whether it’s a casual weeknight gathering or a glamorous dinner party, you’ll feel proud presenting your creations topped with this delicious cream.
Key Ingredients for Stabilized Whipped Cream
Creating stabilized whipped cream is all about using the right ingredients to achieve that perfect creamy texture that holds up beautifully in desserts. Let’s dive into the essentials.
-
Heavy Whipping Cream: The star of the show is high-fat heavy cream. With at least 36% fat, it whips up to a luscious, thick consistency that provides the perfect foundation for your stabilized whipped cream. The extra fat means it can hold its shape longer, making it a must for any cake or dessert topping.
-
Powdered Sugar: Unlike granulated sugar, powdered sugar includes cornstarch, which adds that necessary stability to the whipped cream. It dissolves quickly and results in a smooth, sweet finish without any gritty texture.
-
Gelatin: For the ultimate stability, unflavored gelatin is my go-to. When dissolved and incorporated, it helps your whipped cream maintain its shape, even after sitting out for a while. This is especially useful for events or gatherings when you want your desserts to look pristine throughout the event.
-
Vanilla Extract: While it doesn’t contribute to stability, a splash of vanilla extract enhances the overall flavor of your whipped cream. It adds a warm, inviting sweetness that complements desserts beautifully.
Why You’ll Love This Recipe
Creating stabilized whipped cream can transform your desserts from ordinary to extraordinary, and let me share why it’s such a delicious choice. The first time I made this silky-topped treat, I was genuinely amazed by how easy it was to elevate a simple dessert like chocolate mousse or fruit salad. No more worrying about your cream deflating or losing its airy charm during a gathering!
-
Perfect Texture: This stabilized whipped cream holds its shape wonderfully, making it ideal for topping cakes or cupcakes. You’ll be amazed at how well it retains its fluffy texture, even when left on the counter for a while.
-
Versatile Flavor: With a touch of vanilla extract, you can customize the flavor to match any dessert. Experimenting with different extracts, such as almond or peppermint, opens up new avenues for creativity.
-
Make Ahead: One aspect I love most is the practicality of this recipe. You can whip it up a day in advance without compromising quality, allowing you to focus on other dishes.
-
Impressive Presentation: When you dollop this stabilized whipped cream on your desserts, it not only tastes heavenly but looks professional too. Guests will be impressed, and you’ll wonder why you didn’t start making this sooner!
Try it out for your next gathering, and let the compliments pour in!

Variations of Stabilized Whipped Cream
Creating stabilized whipped cream opens up a world of delightful possibilities beyond the traditional version. Let’s explore some delicious variations that can elevate your desserts and impress your guests.
Chocolate Delight
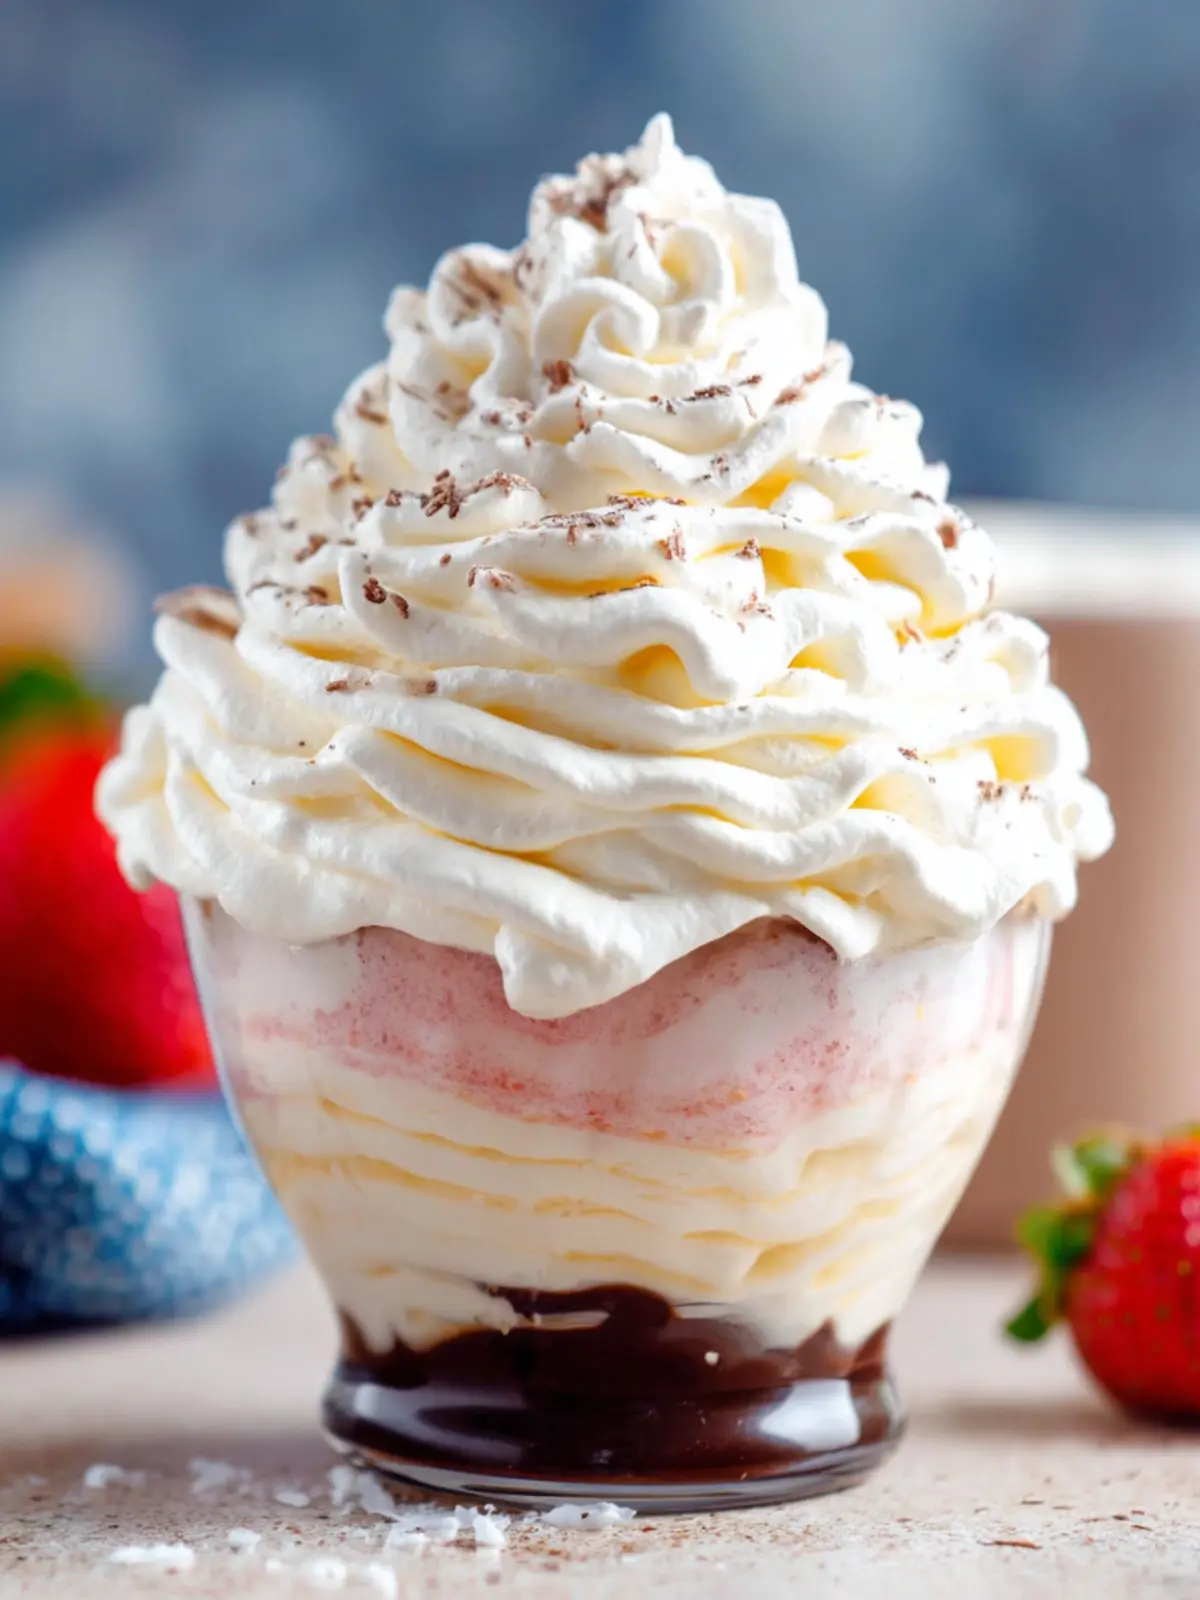
If you’re a chocolate lover, this variation is for you. Simply melt some high-quality chocolate and allow it to cool slightly before folding it into your stabilized whipped cream. The result? A rich, velvety chocolate topping perfect for cakes and pie fillings.
Fruity Bliss
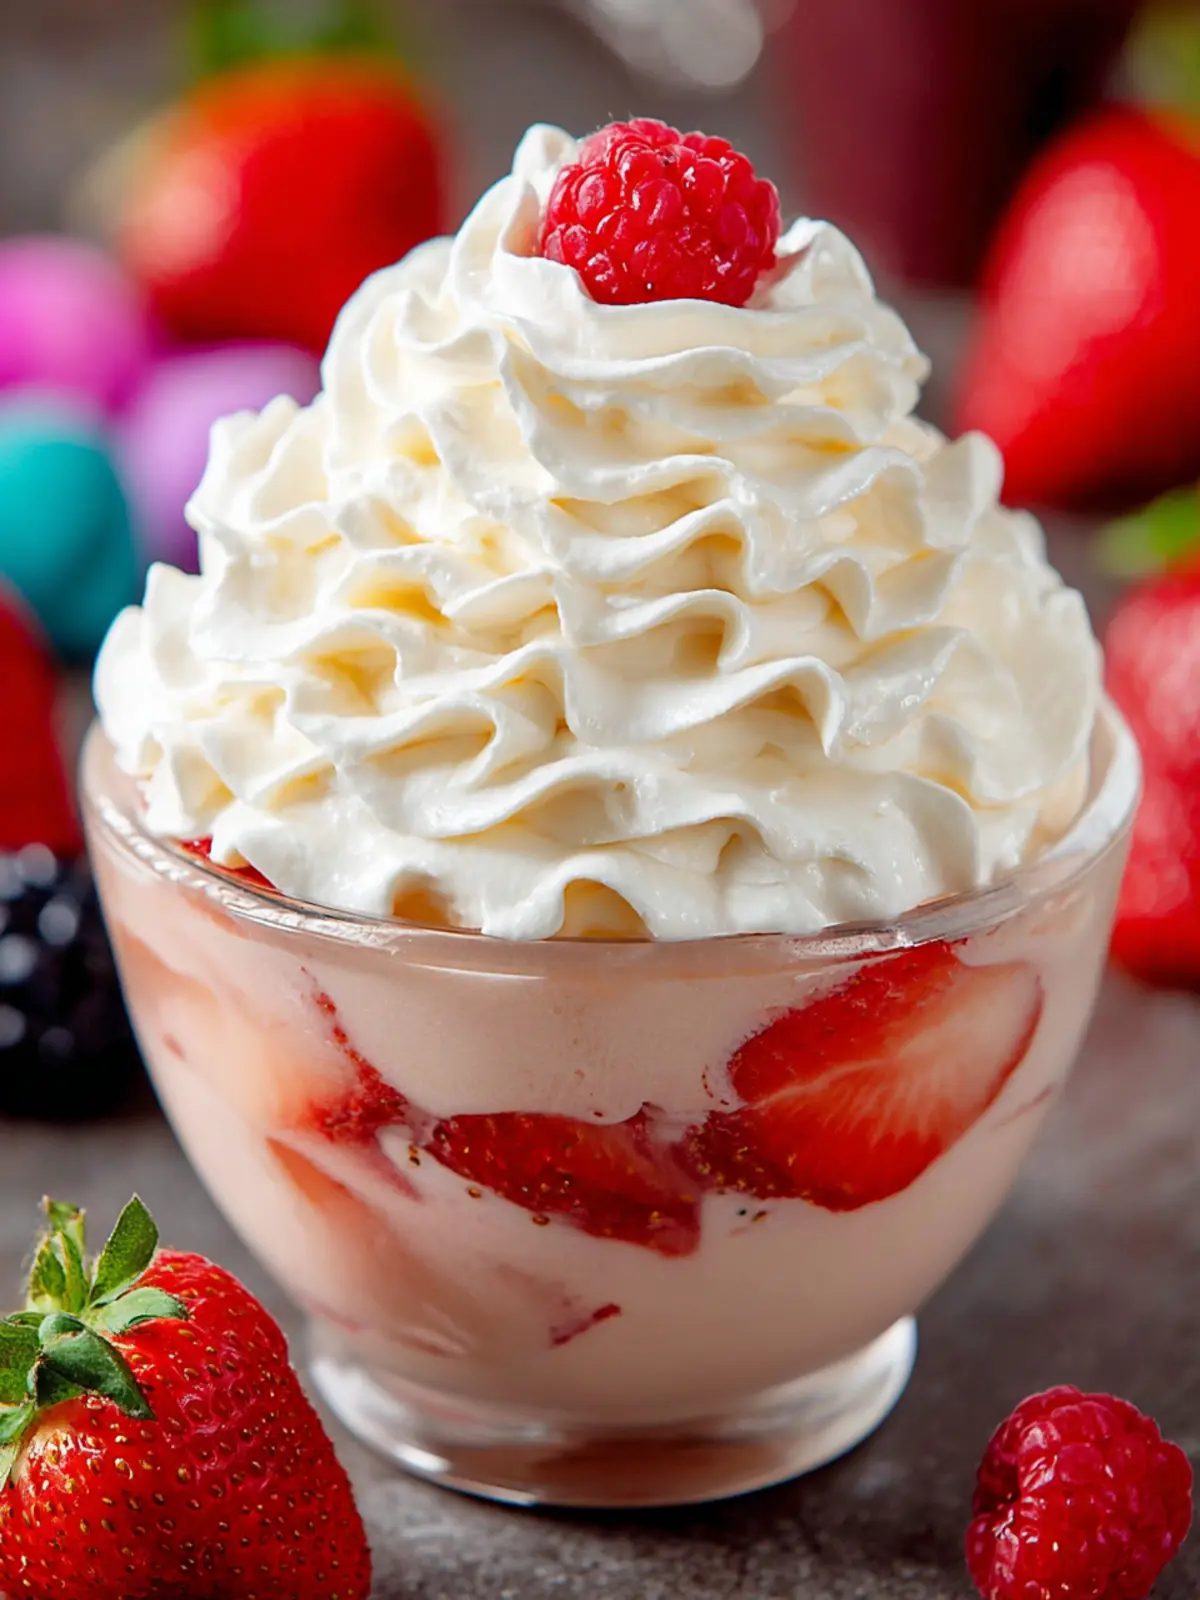
Incorporating pureed fruits like strawberries or mangoes can add a refreshing twist to your stabilized whipped cream. Blend the fruit until smooth, then gently mix it into your whipped cream. This variation works beautifully for summery desserts or as a filling for layered cakes.
Vanilla Bean Elegance
For a gourmet touch, use real vanilla bean paste instead of vanilla extract. The specks of real vanilla in your stabilized whipped cream not only look stunning but also enhance the flavor profile, making your dessert sing with sophistication.
Coffee Kick
For coffee aficionados, fold in a bit of espresso powder or cold brew concentrate to your whipped cream to create a bold coffee flavor. This variation pairs wonderfully with chocolate desserts or can even be dolloped on top of a rich mocha cake.
Experimenting with these variations will not only keep your desserts exciting but also showcase your culinary creativity!
Cooking Tips and Notes for Perfect Stabilized Whipped Cream
Creating stabilized whipped cream can transform an ordinary dessert into something truly special. Picture this: you’ve crafted a beautiful cake, but when you add the cream, it starts to deflate. To prevent this, here are some handy tips that will help you achieve that fluffy, long-lasting texture.
Use Cold Ingredients
Ensuring that your bowl and beaters are chilled can dramatically improve the whipping process. Pop them in the freezer for about 10 minutes before you begin. Cold cream whips faster and holds its shape better.
Choose the Right Cream
For the best results, use heavy cream with a fat content of at least 36%. This high-fat content helps the cream to stabilize and maintain its luscious texture.
Sweeten Wisely
A touch of powdered sugar often works best since it dissolves quickly and gives a smoother finish. For added flavor, consider infusing your whipped cream with vanilla extract or citrus zest—this will elevate the taste without compromising stability.
Mix In Stabilizers
Incorporating cornstarch or gelatin can enhance the cream’s longevity. If using gelatin, bloom it in water before blending it into your whipped cream. This prevents any clumps and ensures an even consistency.
Don’t Overwhip
It’s easy to get carried away! Stop whipping as soon as soft peaks form to maintain a creamy, spreadable texture. Overbeating can lead to graininess, so keep an eye on it.
With these tips in hand, your stabilized whipped cream will not only look gorgeous but also stand up to any dessert challenge. Enjoy creating sweet memories!
Serving Suggestions for Stabilized Whipped Cream
Think of stabilized whipped cream as that versatile secret ingredient that can elevate almost any dessert. Picture it dolloped atop a slice of homemade pie or used to create a gorgeous layered cake—that’s the magic of this delightful topping! Here are some dreamy serving suggestions to inspire your culinary creations.
Transform Your Desserts
-
Topping for Cakes and Cupcakes: A generous swirl of stabilized whipped cream adds elegance to any cake or cupcake. Try it on chocolate cake or vanilla cupcakes for a classic finish.
-
Liven Up Your Pies: Whether it’s a fruity blueberry pie or a rich chocolate silk pie, a scoop of stabilized whipped cream can add a creamy texture and lightness that balances the flavors beautifully.
-
Decadent Parfaits: Layer stabilized whipped cream with fresh fruit and granola for a quick and impressive dessert in a glass. It’s a perfect way to showcase seasonal berries.
Pairing with Hot Beverages
- Coffee and Hot Chocolate: Nothing beats a dollop of stabilized whipped cream floating on top of a steaming mug of coffee or hot chocolate. It not only adds richness but also a touch of indulgence to your everyday drinks.
Creative Sauces and Dips
- Fruit Dip: Mix stabilized whipped cream with a touch of vanilla or almond extract for a delightful dip. Serve it alongside fresh fruit for a sweet and healthy treat.
With these serving suggestions, your stabilized whipped cream will be the star of any gathering, bringing both style and flavor to your table!
Time Breakdown for Making Stabilized Whipped Cream
Making stabilized whipped cream is easier than you might think, and knowing the time requirements can help you plan better for your dessert adventures. Let’s break it down!
Preparation Time
To whip up this delightful cream, you’ll need about 15 minutes for preparation. This step includes gathering your ingredients and whipping the cream until it reaches the perfect consistency.
Chill Time
For best results, chill your mixing bowl and beaters for at least 15 minutes before starting. If time allows, refrigerating the whipped cream for an hour after preparation will also enhance its stability.
Total Time
In total, you’re looking at approximately 30 minutes for making stabilized whipped cream. This quick and simple process is well worth it when you taste the difference!
Nutritional Facts for Stabilized Whipped Cream
Creating the perfect stabilized whipped cream not only enhances your desserts but also ties in an important aspect of cooking—nutrition. Understanding the nutritional facts can help you enjoy this creamy delight while being mindful of your dietary choices.
Calories
A typical serving of stabilized whipped cream contains about 50-60 calories. This makes it a rich yet manageable topping for desserts, ensuring you don’t overindulge while still treating yourself.
Fat
This creamy goodness usually has around 5-6 grams of fat per serving, primarily coming from heavy cream. Opting for light whipped cream can cut the fat content if you’re looking for a lighter option without sacrificing too much flavor.
Sugar
With approximately 2-3 grams of sugar per serving, the sweetness in stabilized whipped cream comes from added sugar or flavored extracts. You can easily adjust this to suit your taste, perhaps by using a sugar substitute or reducing the amount for a less sweet topping.
Remember, moderation is key, and knowing these facts allows you to savor your stabilized whipped cream guilt-free!
FAQs about Stabilized Whipped Cream
Stabilized whipped cream is a game-changer for anyone who enjoys making desserts. It allows you to create beautiful, fluffy toppings that hold their shape longer, ensuring your sweet creations look as good as they taste. Let’s dive into some frequently asked questions about this versatile ingredient.
How long will stabilized whipped cream last?
When properly made, stabilized whipped cream can last up to 3-5 days in the refrigerator. Its extended shelf life is attributed to the ingredients used in the stabilization process, such as gelatin or cornstarch, which help retain the cream’s airiness and texture. Just remember to store it in an airtight container to prevent it from absorbing any odors in the fridge.
Can I use flavored gelatin?
Absolutely! If you’re looking to add a little twist to your stabilized whipped cream, flavored gelatin can be a delightful option. It not only stabilizes the cream but also imparts a subtle flavor in the process. Just make sure to choose a flavor that complements your dessert.
How do I know when my whipped cream is at stiff peaks?
Determining the right consistency for your whipped cream is crucial, especially for stabilization. Look for stiff peaks when you can lift the whisk or beaters from the mixture and the peaks hold their shape standing upright without drooping. If you’re unsure, a quick taste test can also help; it should feel light and creamy, not grainy or overly liquid.
Creating luscious, perfectly stabilized whipped cream at home opens up a world of dessert possibilities, making it a must-have skill for any aspiring baker!
Conclusion on Stabilized Whipped Cream
As you’ve discovered, creating stabilized whipped cream is not only straightforward but also a game changer for your desserts. This versatile topping holds its form beautifully, allowing you to elevate any cake, pie, or dessert to a professional level. Remember, the key ingredients like gelatin or whipped cream stabilizer are essential for achieving that perfect texture and consistency.
Once you’ve mastered this silky, luscious cream, don’t hesitate to experiment with flavors—add a hint of vanilla, cocoa, or even lemon zest for a delightful twist. It’s time to whisk away your worries about deflating whipped cream and make your culinary creations shine. Happy whipping!
Print
Whipped Cream with Gelatin
- Total Time: 10 minutes
- Yield: 2 cups 1x
- Diet: Vegetarian
Description
This whipped cream with gelatin recipe is light and fluffy, perfect for desserts.
Ingredients
Scale
- 1 teaspoon powdered gelatin (unflavored)
- 4 teaspoons cold water
- 1 1/2 cups heavy whipping cream (chilled)
- 4 tablespoons powdered sugar
- 1/4 teaspoon vanilla extract (optional)
Instructions
- Place a large glass or metal mixing bowl, along with the mixer beater blades, in the freezer for 5 to 10 minutes.
- Add water to a small bowl and sprinkle the gelatin on top. Allow it to stand for 5 minutes to bloom.
- Heat in the microwave for 10 seconds, then whisk until fully dissolved. Let the mixture cool slightly, about 2 minutes. Don’t allow it to sit for too long, or it will set!
- Pour the cold cream into a chilled bowl. Then, add sugar and vanilla.
- Start whipping the mixture at medium-low speed until it thickens slightly, about 1 minute.
- Slowly pour in the gelatin mixture while mixing. Continue whipping on high speed until stiff peaks form.
Notes
- This whipped cream is stable enough to hold its shape for several hours.
- For best results, use very cold equipment.
- Prep Time: 10 minutes
- Category: Dessert
- Method: Whipping
- Cuisine: American
Nutrition
- Serving Size: 1/4 cup
- Calories: 150
- Sugar: 10g
- Sodium: 10mg
- Fat: 15g
- Saturated Fat: 10g
- Carbohydrates: 5g
- Fiber: 0g
- Protein: 1g
- Cholesterol: 50mg