Follow Me On Social Media!
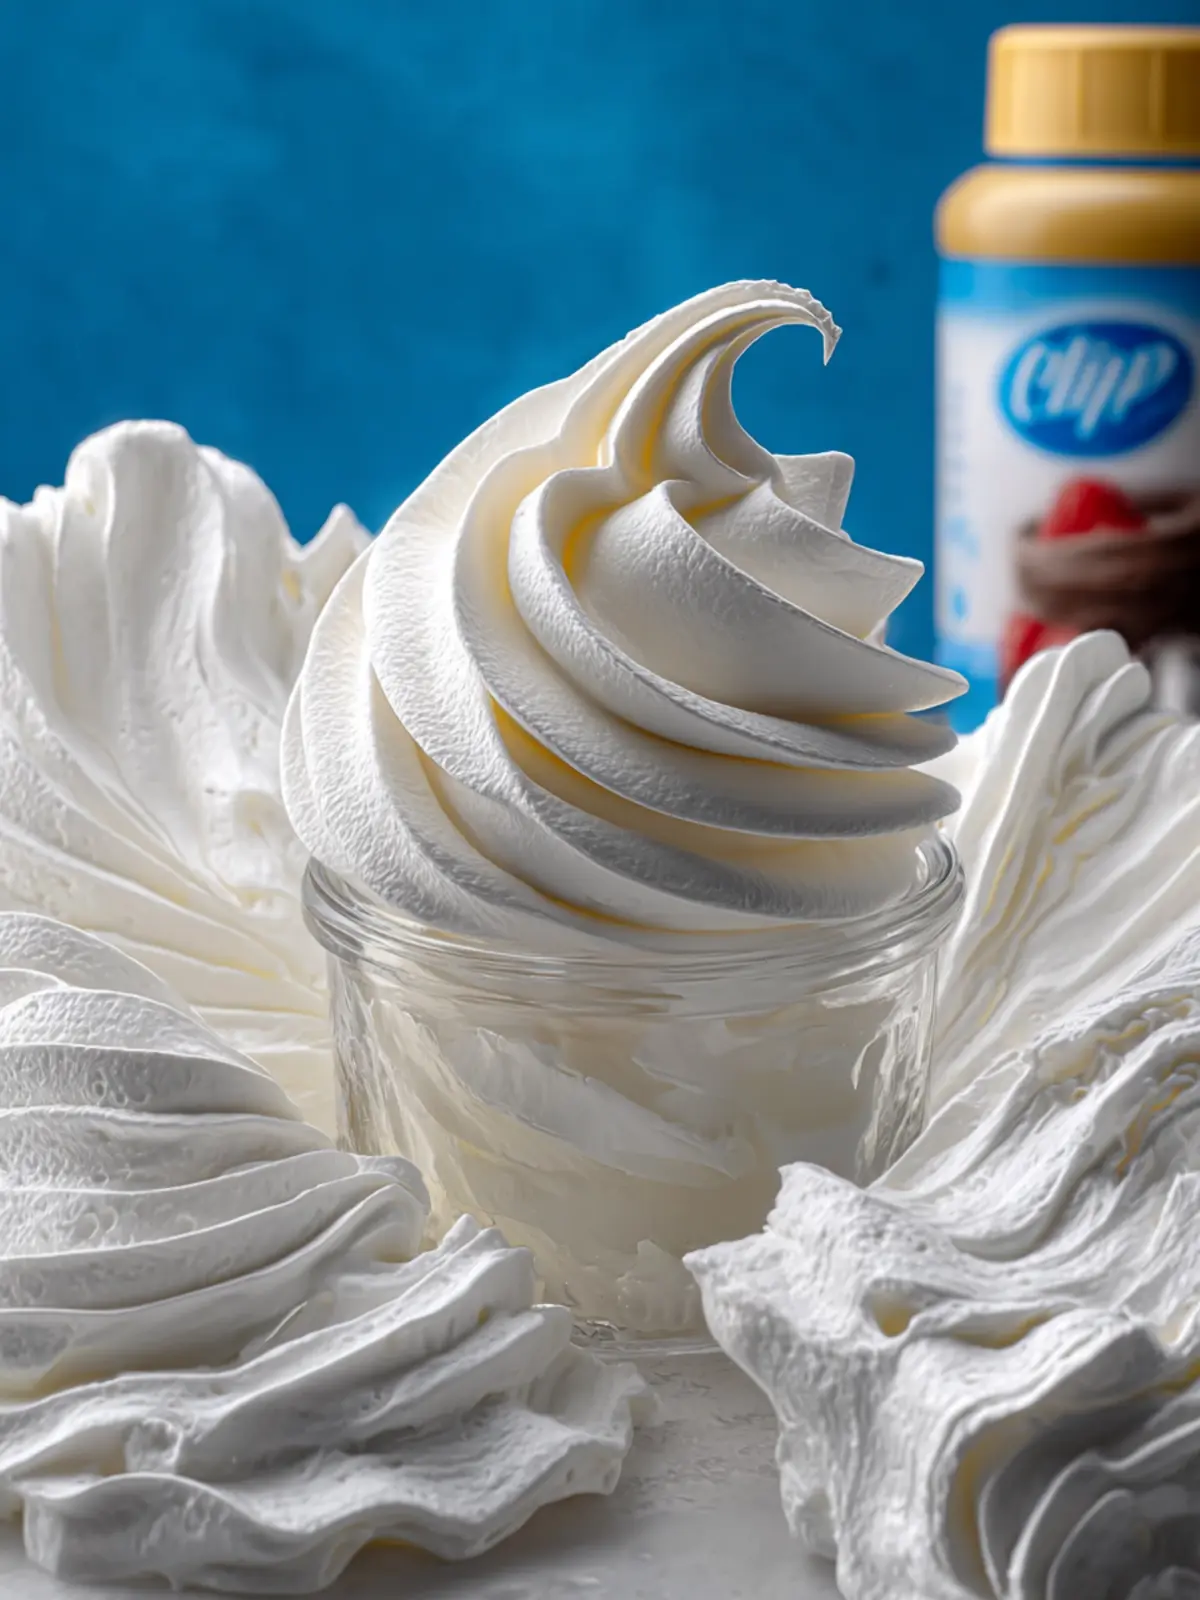
Homemade Cool Whip: The Best Creamy Delight You’ll Love!
Introduction to Homemade Cool Whip
Have you ever found yourself craving a light, airy topping for your desserts but realized that store-bought whipped cream just doesn’t quite hit the mark? That’s where homemade Cool Whip comes into play. Preparing your own version not only elevates your dessert game but also brings an element of love and care to your culinary creations. Imagine the joy of slathering a freshly whipped topping onto your favorite pie, ice cream, or even a fruit salad—it’s an indulgent treat that feels special, and today, I’m excited to share with you how easy it is to whip up this delightful addition in your kitchen.
Whipped cream is a universal favorite, but it’s not just the texture that makes it the perfect topping. It boasts a rich, creamy flavor that complements a wide array of desserts. Whether you’re diving into a slice of chocolate cake or enjoying fresh berries, whipped cream adds a luxurious finish that ties everything together. Plus, it’s incredibly versatile; not only can you enjoy it straight from the bowl, but it can also be infused with flavors like vanilla, chocolate, or even coffee for a unique twist.
What Makes Whipped Cream the Perfect Topping?
- Texture: Whipped cream brings a fluffy, cloud-like texture that feels delightful on the palate. That satisfying dollop on your dessert can transform an ordinary dish into something truly memorable.
- Flavor Profile: With just a simple combination of cream and sugar, you can adjust the sweetness and flavor to suit your taste, enhancing whatever dish you choose it for.
- Customization: You can easily modify your homemade Cool Whip by adding different flavorings or sweeteners to align with your personal preferences or dietary needs.
- Freshness: There’s a remarkable difference between store-bought products and freshly whipped cream. With homemade options, you bypass the preservatives and additives, offering a purer taste.
Say goodbye to store-bought toppings and hello to the satisfaction of creating your very own homemade Cool Whip! It’s simple, fun, and oh-so-satisfying, and I can’t wait to guide you through the process. Let’s get started!
Key Ingredients for Homemade Cool Whip
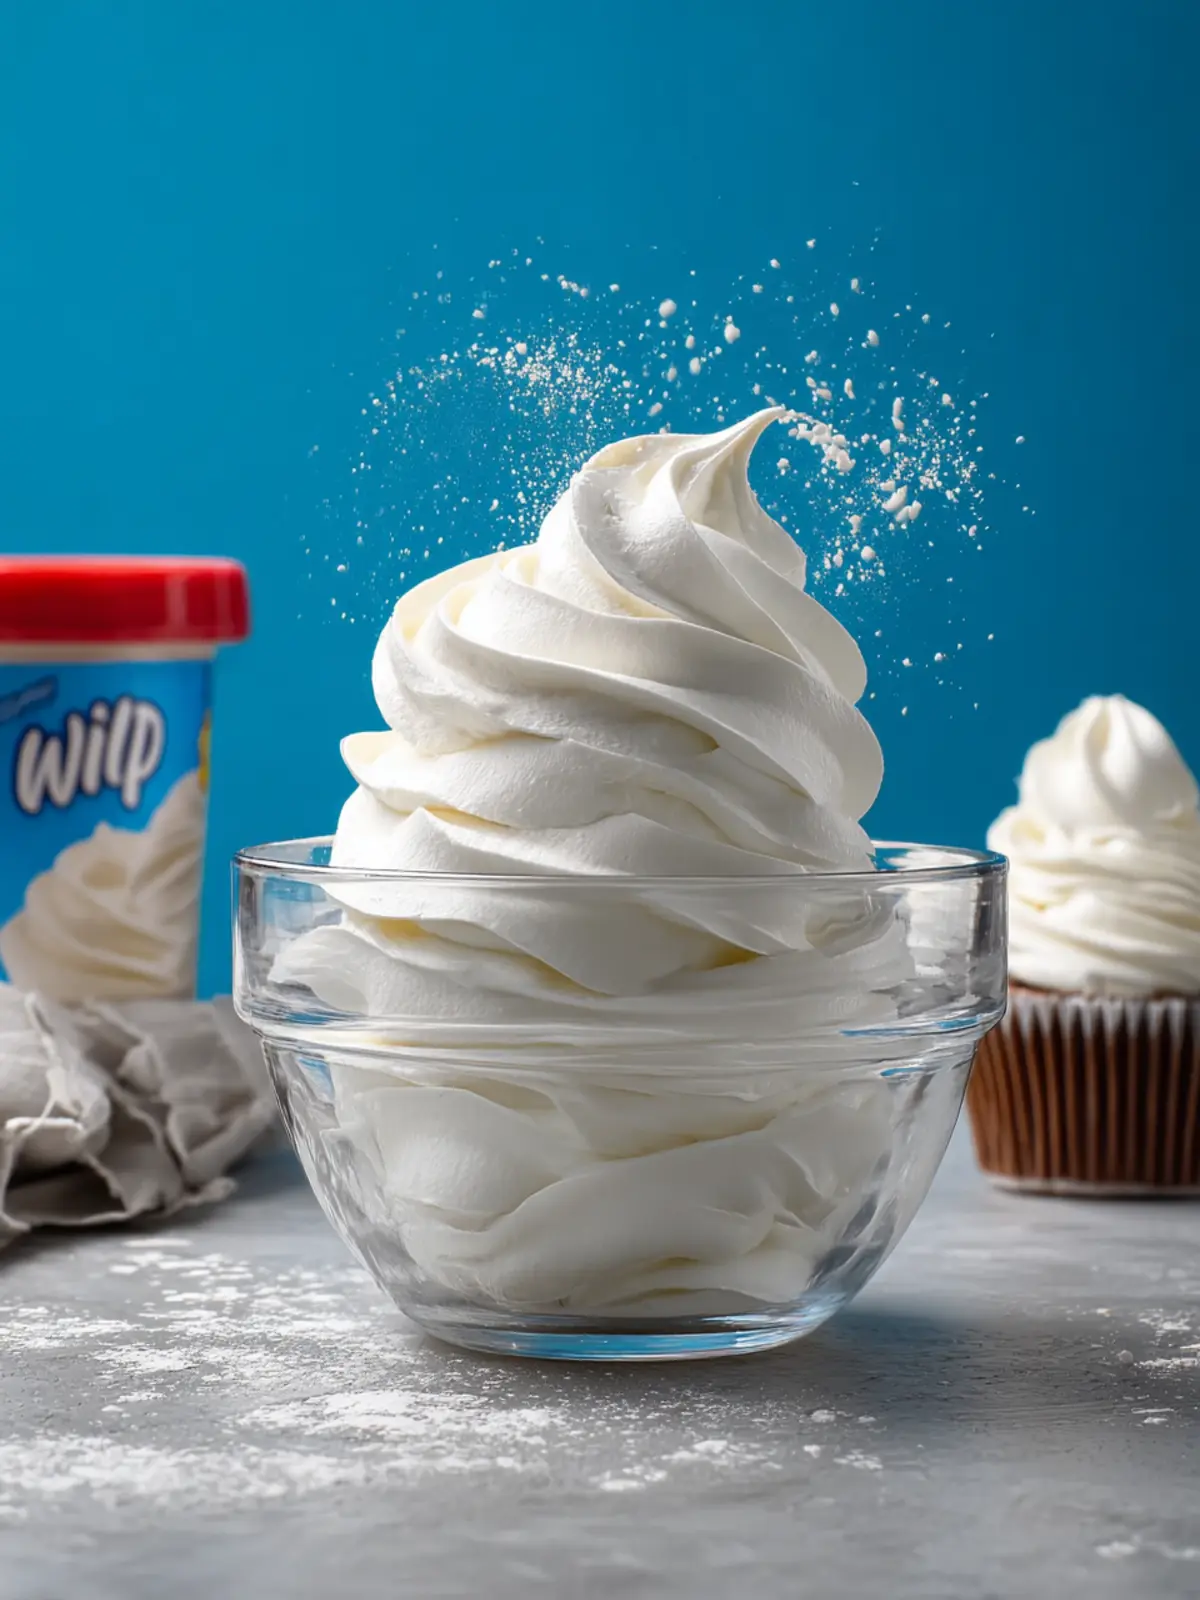
Making your own homemade Cool Whip is incredibly satisfying, and it’s all about choosing the right ingredients to create that dreamy, fluffy texture. Let’s break down the essential components that make this whipped treat a delightful addition to any dessert.
Heavy Whipping Cream: The star of our show! Heavy whipping cream is rich in fat, which helps achieve that light and airy consistency. Opting for high-quality cream ensures a richer flavor that store-bought versions often lack.
Powdered Sugar: This ingredient lends the perfect sweetness without the gritty texture of granulated sugar. It dissolves easily and helps to stabilize our whipped cream, keeping it fluffy longer.
Vanilla Extract: A splash of pure vanilla extract introduces a warm, aromatic essence that elevates the overall flavor profile. It’s a simple addition, but it makes all the difference in taste.
Salt: Just a pinch of salt balances the sweetness and enhances all the flavors. It’s a small detail that should never be overlooked!
These ingredients come together to create a delicious homemade Cool Whip that’ll impress your friends and family. Enjoy making your own version with these simple staples!
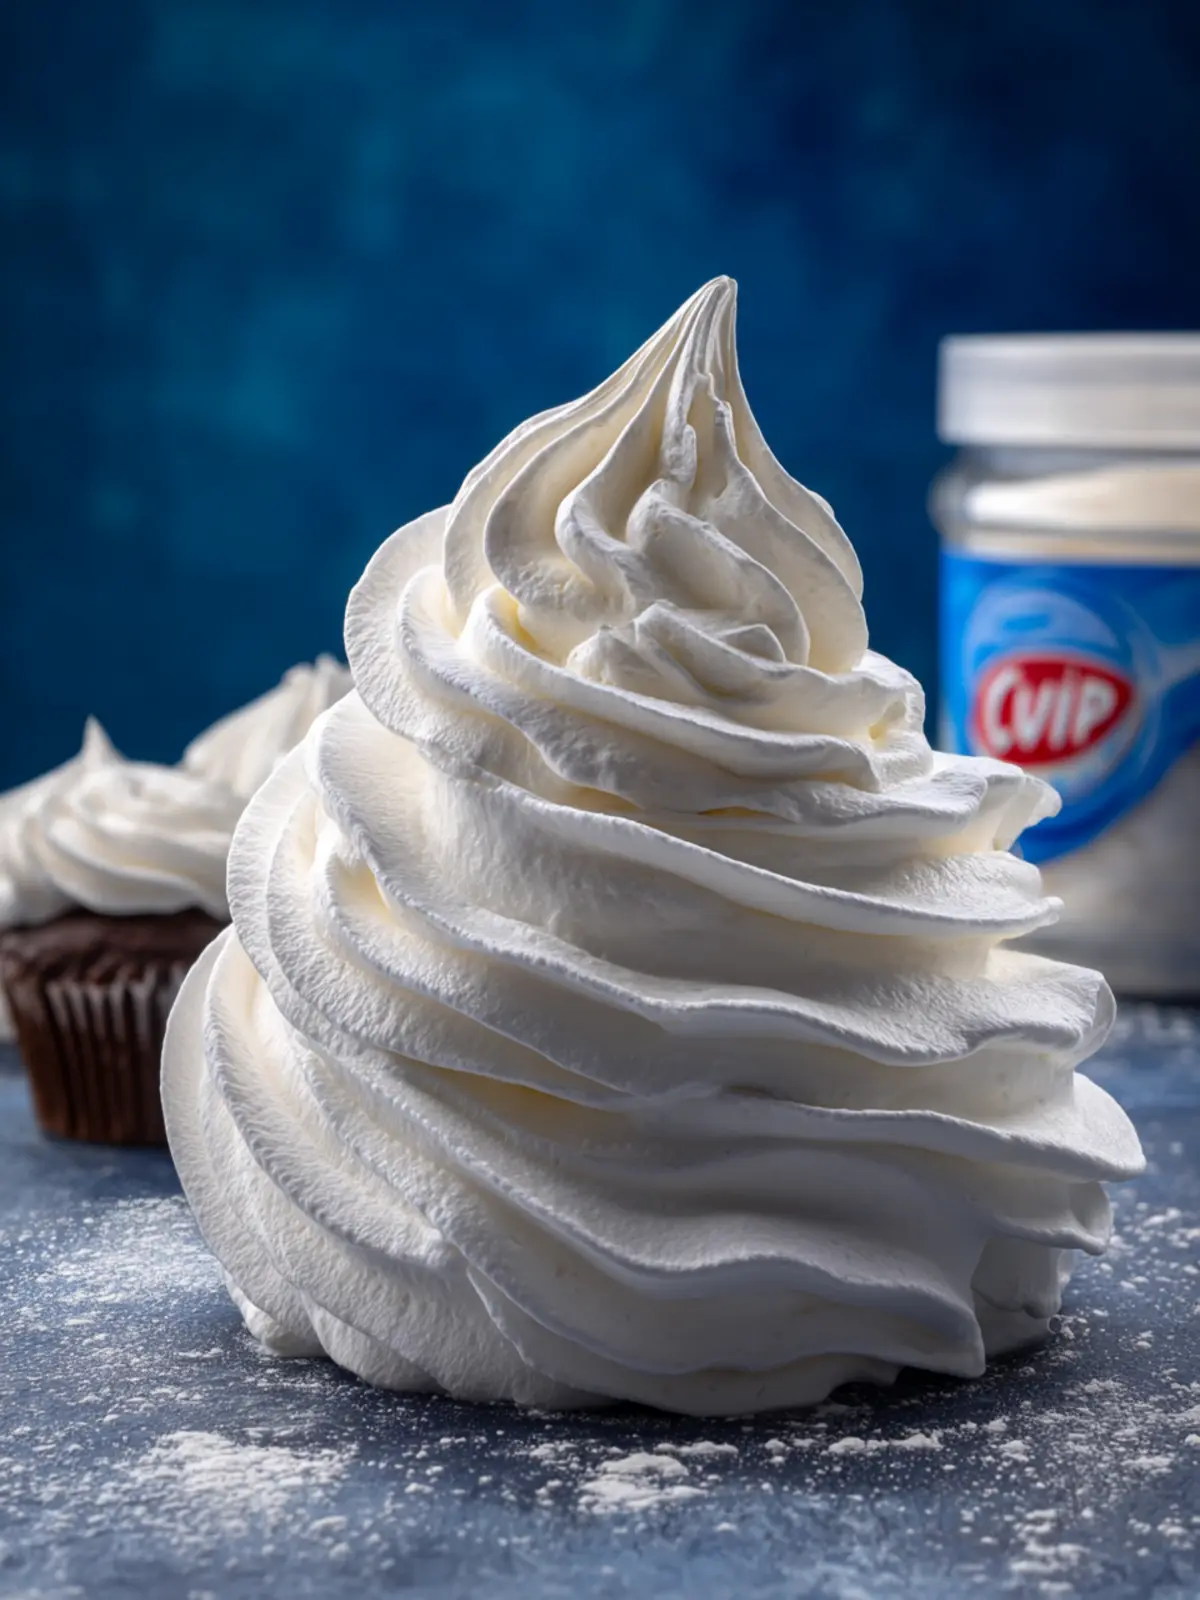
Why You’ll Love This Homemade Cool Whip
There’s a unique joy that comes from making homemade Cool Whip—it’s like creating your own little culinary magic at home. Imagine whipping up that fluffy, creamy goodness that elevates your favorite desserts, all while knowing exactly what goes into it. The delightful blend of flavors and textures will make any of your desserts a standout experience.
Taste the Difference
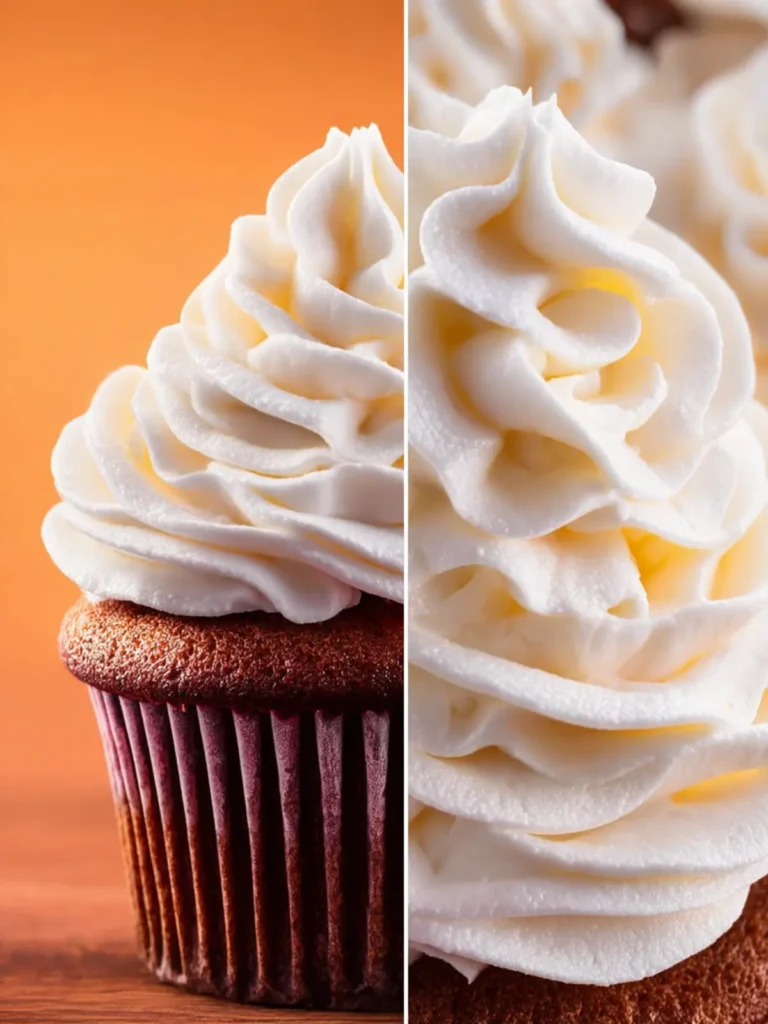
When you prepare homemade Cool Whip, you’ll notice it tastes fresher and richer than store-bought varieties. Using simple ingredients like heavy cream, powdered sugar, and vanilla extract, this treat marries convenience with quality. Each fluffy dollop delivers a burst of homemade flavor that store-bought just can’t compete with.
Perfect for Every Occasion
Whether it’s piled on top of a pie, swirled into a fruit salad, or enjoyed straight from the bowl, this homemade Cool Whip allows you to create beautiful presentations and delicious treats in no time. Plus, it’s an easy recipe! You can customize the sweetness and flavor to fit your personal preference. Who wouldn’t love the flexibility?
No More Guilt
Finally, making your own means you can avoid the additives and preservatives found in many commercial versions. It’s a guilt-free indulgence that invites you to enjoy dessert without hesitation. So let’s whip up some homemade Cool Whip together and discover a new level of dessert enjoyment!
Variations of Homemade Cool Whip
When it comes to homemade Cool Whip, there’s a world of delicious possibilities. You can easily infuse your whipped topping with various flavors and textures to suit any dessert or occasion. Here are a few fun variations that can elevate your homemade masterpiece:
Flavor Enhancements
- Vanilla Bean: For a classic touch, add the seeds of half a vanilla bean or a teaspoon of pure vanilla extract. This elevates the flavor profile beautifully.
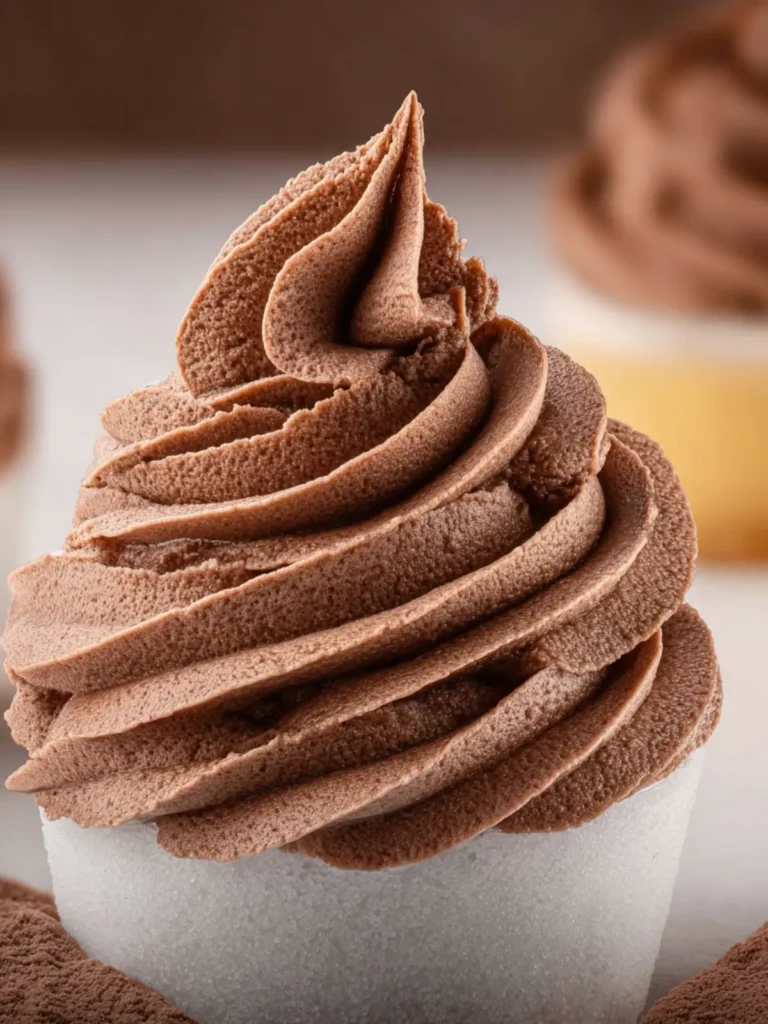
- Chocolate Bliss: Stir in cocoa powder or melted chocolate for a rich twist. It pairs wonderfully with strawberries or brownies.
Healthier Alternatives
- Greek Yogurt: Mixing in some plain Greek yogurt creates a tangy and protein-rich alternative. This variation is great if you want a lighter option without sacrificing texture.
- Coconut Milk: For a dairy-free version, use chilled coconut milk instead of heavy cream. It adds a tropical flair and a subtle sweetness to your desserts.
Seasonal Spins
- Pumpkin Spice: Around fall, incorporate canned pumpkin puree and pumpkin spice for a seasonal delight. Spread this on pies or layer it with graham crackers for a seasonal treat.
- Berry Bliss: For a fruity touch, blend in some pureed berries such as strawberries or raspberries. It’s perfect for topping off a summer dessert.
Experimenting with these variations can turn your homemade Cool Whip into the perfect companion for an array of sweet dishes. Enjoy the creativity in your kitchen!
Cooking Tips and Notes for Homemade Cool Whip
Creating your own homemade Cool Whip can bring delightful nostalgia along with a creamy, fresh flavor that store-bought versions often lack. With just a handful of ingredients, this versatile topping can elevate any dessert from good to unforgettable.
Choose Your Cream Wisely
Using heavy whipping cream is essential for achieving that perfect texture. Look for a brand with at least 36% fat content; this ensures stability and richness in your finished homemade Cool Whip. Avoid light or non-fat creams, as they won’t whip up properly.
Sweetening with Precision
You have the flexibility to use powdered sugar for sweetness. It dissolves quicker, so you don’t need to worry about graininess. Start with a small amount, and feel free to taste and adjust gradually. Remember, you can always add more, but it’s hard to take it out!
Blend Wisely
When mixing your ingredients, use a chilled bowl and beaters. This simple trick helps the cream whip up faster and ensures it holds its shape. Remember not to overwhip; stop once stiff peaks form to prevent a grainy texture.
Storage Tips
If you have leftovers, store your homemade Cool Whip in an airtight container in the fridge for up to two days. It’s best enjoyed fresh, so plan accordingly!
By keeping these tips in mind, you can make the creamiest, most delicious homemade Cool Whip that rivals any store brand!
Serving Suggestions for Homemade Cool Whip
Creating your own homemade cool whip opens a world of delightful serving possibilities that can elevate your desserts to new heights. Imagine topping off a luscious slice of pie or a refreshing fruit salad with your fluffy creation—it’s truly enchanting.
Pairings and Ideas
Here are some fun and delicious ways to enjoy your homemade cool whip:
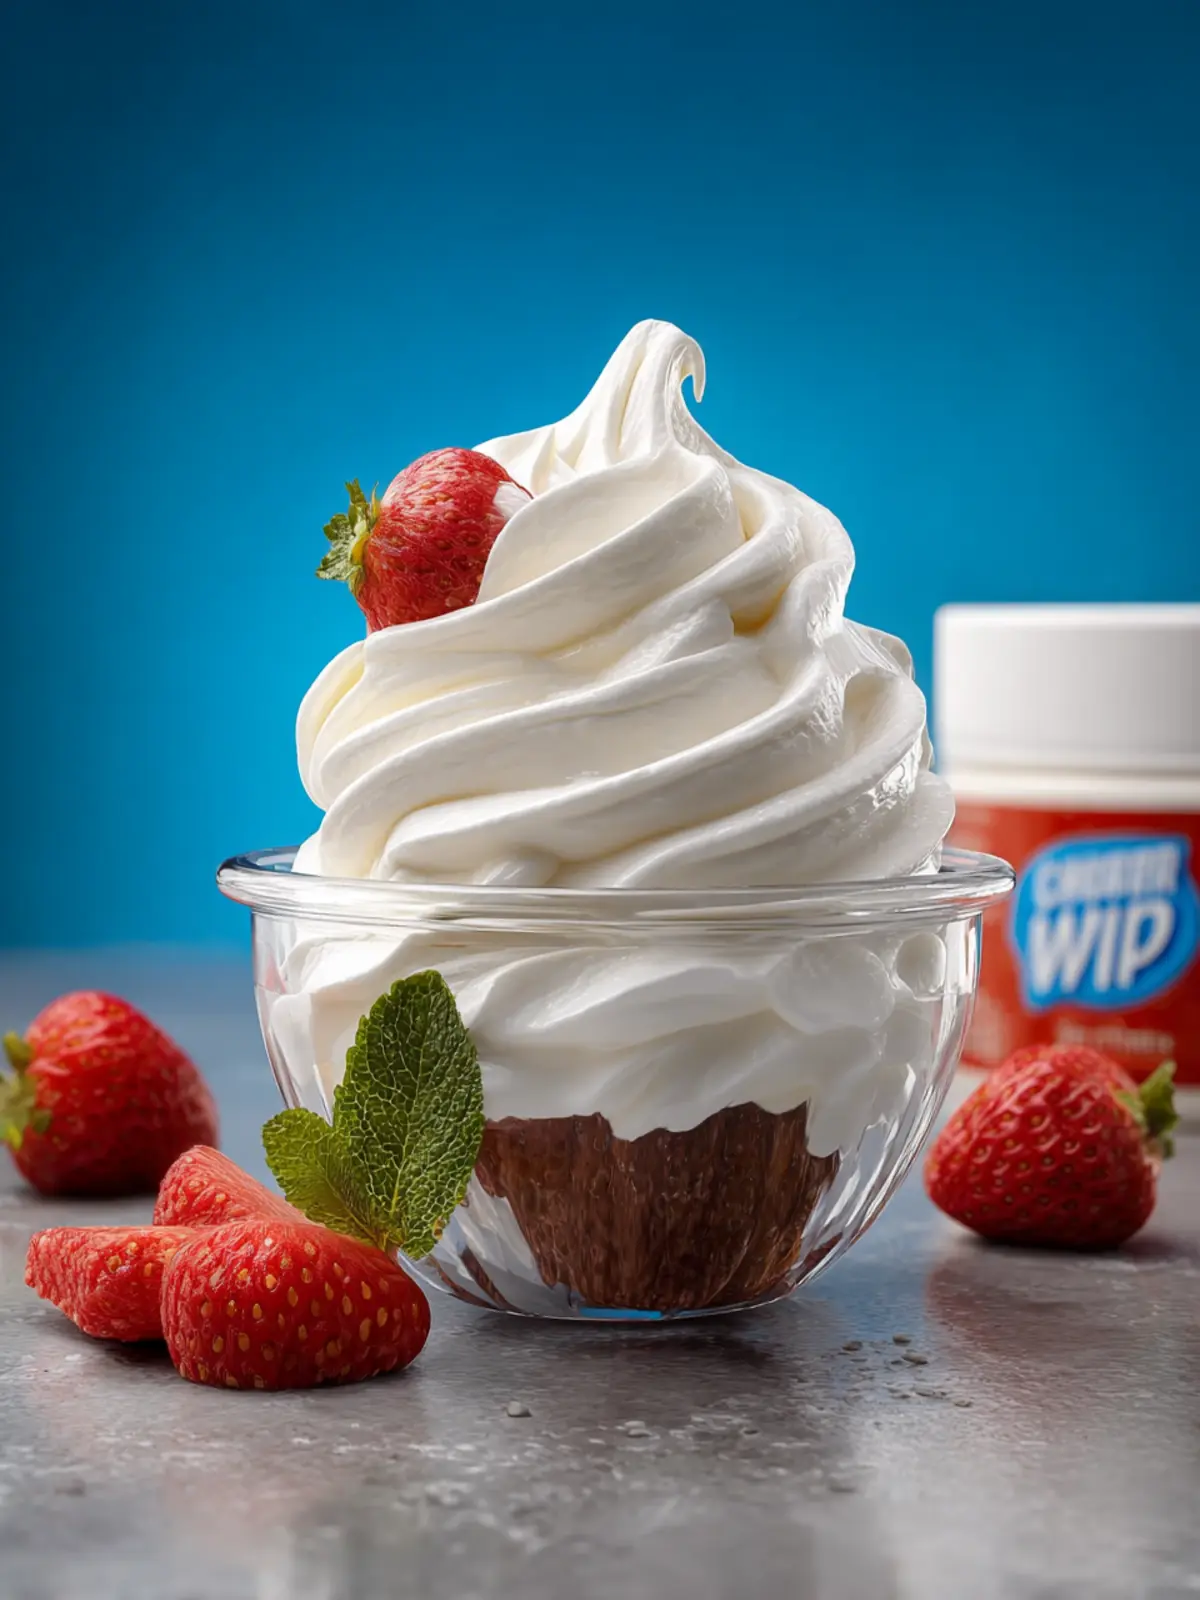
- Classic Desserts: Dollop it on pies, cheesecakes, or brownies for a creamy, rich addition. It’s the perfect balance to tart desserts.
- Fruit Delight: Use it as a luscious topping for fresh berries or a fruit salad. The sweetness complements the natural flavors beautifully.
- Ice Cream Treats: Swirl it into your favorite ice cream sundae to add a light, airy texture that contrasts with the creaminess.
- Hot Chocolate: Enhance your winter drink by adding a generous spoonful to a steaming cup of hot chocolate. It’s the ultimate cozy treat.
- Pancakes or Waffles: Spread some on top of your breakfast stack for an indulgent morning boost. It makes even the simplest meal feel special.
Experiment and find your favorite ways to use homemade cool whip—the options are as endless as your creativity!
Time Breakdown for Homemade Cool Whip
Creating your own homemade Cool Whip not only elevates desserts but also gives you a sense of accomplishment. Here’s how the time breaks down for making this delightful topping:
Preparation time
Getting started on your homemade Cool Whip takes about 10 minutes. This includes gathering ingredients, measuring, and whipping everything together until it reaches that perfect consistency. It’s a quick process that keeps you from feeling rushed, allowing you to enjoy the creative aspect of cooking.
Setting time
After mixing, let your homemade Cool Whip chill in the refrigerator. This step requires about 30 minutes, enabling the flavors to meld beautifully and the mixture to firm up. While you wait, think about the desserts you’ll use it on; the excitement makes the time fly by!
Total time
In total, you’ll spend about 40 minutes from start to finish. This quick and easy approach ensures you can whip up a delicious and fluffy topping without taking over your entire day. Enjoy the impressive results in no time!
Nutritional Facts for Homemade Cool Whip
Creating your own homemade Cool Whip not only elevates your dessert game but also allows you to know exactly what’s going into this fluffy topping. Here’s a breakdown of the essential nutritional aspects to consider when you whip up this delightful treat.
Calories
For each serving of homemade Cool Whip, you can expect around 30-40 calories. This is significantly lower than store-bought versions, making it a lighter option for drizzling over your favorite desserts.
Fat Content
The fat content in your homemade Cool Whip will largely depend on the type of heavy cream you choose. Generally, you can anticipate approximately 3-4 grams of fat per serving. By selecting lower-fat or organic heavy cream, you can customize this parameter to fit your dietary needs.
Sugar
Sugar is another crucial aspect, with around 1-2 grams per serving. This not only sweetens your homemade Cool Whip but can also be adjusted to your taste preferences. Opting for alternative sweeteners can further reduce sugar levels if desired.
Embrace the delightful balance between nutrition and indulgence with your homemade Cool Whip!
FAQs about Homemade Cool Whip
Creating homemade Cool Whip can be a delightful addition to countless desserts, but you may have some questions about its preparation and storage. Here are some frequently asked questions that can help clarify the process.
Can I make Homemade Cool Whip ahead of time?
Absolutely! One of the beauties of homemade Cool Whip is its versatility and convenience. You can prepare it a few days in advance and store it in the fridge. Just be sure to give it a gentle stir before serving to restore its creamy texture. This makes it a great option for gatherings and last-minute dessert prep.
How long can I store Homemade Cool Whip?
Your homemade Cool Whip will typically keep well in the refrigerator for about 3 to 5 days. To maximize freshness, store it in an airtight container. If you notice any separation, simply whisk it back together before using. For longer storage, consider freezing it, though keep in mind that the texture might change slightly once thawed.
Can I use flavored gelatin for a twist on this recipe?
Definitely! Using flavored gelatin is a fun way to add a unique twist to your homemade Cool Whip. Just substitute the gelatin in the recipe with your preferred flavor, and you’ll have a deliciously flavored topping that can brighten up any dessert. Think about using raspberry for a fruity cake or even orange for a refreshing touch—it’s an easy way to elevate your creations!
These tips should help you navigate your homemade Cool Whip journey with confidence and creativity!
Conclusion on Homemade Cool Whip
Creating your own homemade cool whip is not just a fun kitchen project; it’s also a rewarding way to elevate your desserts. By using simple ingredients like heavy cream, powdered sugar, and vanilla extract, you can whip up a delightful topping that enhances the flavor of cakes, pies, and even your morning pancakes. Unlike store-bought versions, this fresh alternative allows you to control the sweetness and texture, bringing a homemade touch to every bite. So, next time you’re ready to impress guests or treat yourself, remember that a scoop of homemade cool whip might just be the finishing touch you need.
Print
Whipped Cream with Gelatin
- Total Time: 15 minutes
- Yield: 4 servings 1x
- Diet: Vegetarian
Description
This whipped cream recipe includes gelatin for added stability, perfect for desserts.
Ingredients
Scale
- 2 ¼ tablespoons cold water
- 1 ½ teaspoons unflavored gelatin
- 1 ½ cups heavy whipping cream
- 6 tablespoons powdered sugar
- 1 ½ teaspoons vanilla extract
- 1 ½ teaspoons heavy whipping cream
Instructions
- Chill a large mixing bowl and the whisk attachment in the fridge.
- Add water to a heat-safe bowl.
- Sprinkle the unflavored gelatin on top. Let it sit for a few minutes.
- Place this bowl over a simmering pan of water until the gelatin is fully dissolved. It only takes 5-7 seconds.
- Stir the mixture and set it aside to cool.
- Remove your bowl and whisk attachment from the refrigerator.
- Combine the 1 ½ cups of heavy whipping cream, powdered sugar and vanilla in the bowl.
- Whip the mixture building up to a high speed until it thickens and soft peaks form.
- Stir the 1 ½ teaspoons of heavy cream into the gelatin mixture.
- Turn the mixer to low.
- Slowly pour the gelatin mixture into the whipped cream and mix until well combined.
- Increase the mixer to medium speed and mix until stiff peaks form.
Notes
- This whipped cream can be used to top cakes, pies, or any dessert.
- Store any leftovers in the refrigerator.
- Prep Time: 15 minutes
- Cook Time: 0 minutes
- Category: Dessert
- Method: No-Bake
- Cuisine: American
Nutrition
- Serving Size: ½ cup
- Calories: 100
- Sugar: 10g
- Sodium: 5mg
- Fat: 8g
- Saturated Fat: 5g
- Unsaturated Fat: 3g
- Trans Fat: 0g
- Carbohydrates: 7g
- Fiber: 0g
- Protein: 1g
- Cholesterol: 30mg